 To control the consoles using special controllers. They are of different models and types - depending on the console for which they are intended. The main convenience of such a device is its compactness, ease of use and quick connection. The process of synchronization with the console is quite simple and does not take much time. After turning on the system, automatic recognition of the gamepad occurs and you can use it. Each button and key combination corresponds to a specific action in the game.
But in some cases, problems may arise when working with equipment. From this may suffer control and control of the gameplay. The most common cause of a malfunction is incorrect connection or controller settings. This can be easily solved by reading the manual for the joystick. But sometimes to identify an internal problem you need to disassemble the joystick.
Sometimes you need to disassemble the joystick case. Here are the possible reasons for disassembling the gamepad:
- dust accumulation inside the case causes problems when pressing the control buttons;
- during prolonged use, problems with internal elements and microcircuits may appear;
- buttons wear out and require replacement;
- in case of malfunction, it is necessary to eliminate malfunctions inside the case;
- I want to change the style and appearance of technology by replacing components.
ATTENTION! If you doubt the correct disassembly, it will be better to ask for quality assistance in the service. They will conduct a detailed diagnosis and eliminate possible problems.
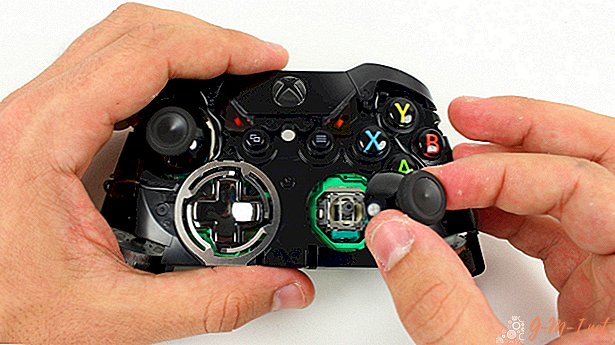
In general, the plan for disassembling different models is not much different. For example, here is a step-by-step instruction for replacing parts of the device on the Xbox One joystick. To do this, you will need to purchase tools: a small cross and minus screwdriver (especially for controllers), a dusting brush and a set of parts for replacement. If you are prepared, you can get to work:
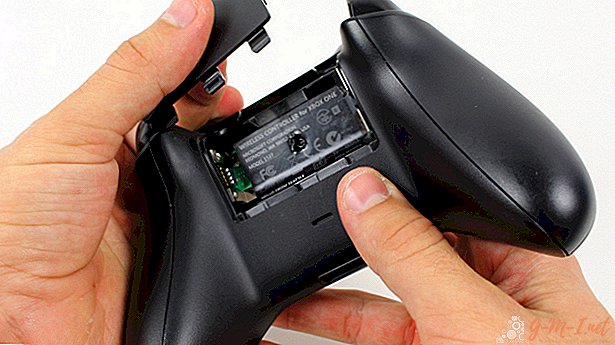
- Open the back panel (it moves away easily) and remove the batteries or the battery from there.
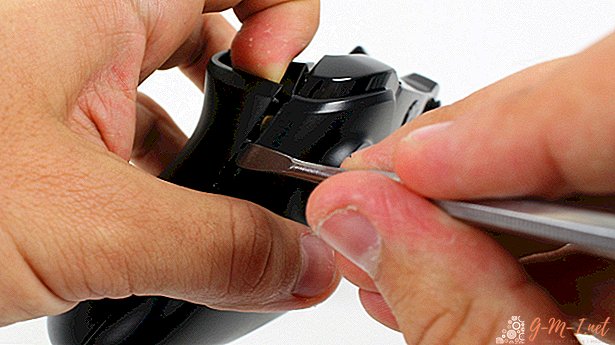
- Remove the side plastic attachments from both joystick handles by gently bending the parts until they click. This can be done by inserting a negative screwdriver into the gap between the parts to be joined.
- In the battery compartment there is a sticker under which there is a bolt. It must be unscrewed.
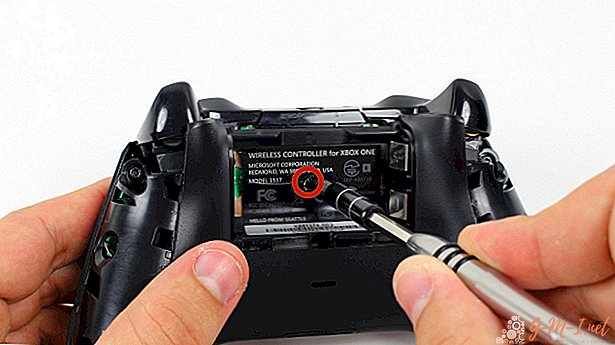
- After that, unscrew the remaining screws and detach the back panel completely.
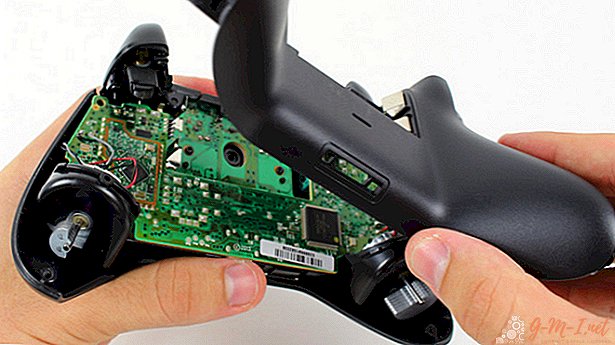
- Now that you have access to the exterior, remove the front end cap.
- After that, you can disconnect the buttons and chips that need to be changed.
- Get started to replace parts, then assemble the gamepad in reverse order.


With this manual you can completely disassemble the gamepad. But this is not always necessary; for cleaning dust it is possible to remove only those areas where it has accumulated (in the holes and gaps between the parts).
After breaking the protective sticker, you will lose the possibility of repair under warranty. If you have a warranty card, take the product to a specialized service center.
Leave Your Comment