Perhaps after the repair you still have pieces of laminate. In order not to throw them away, we will find use for them. As shelves, they will not hold out, and the remains are mainly in small quantities. But to make a bird feeder from a laminate is a great idea. And feathered friends to benefit, and the child in joy.

Basic rules for building a bird feeder
Before you get started, you need a little theory. If you want to do the job quickly and get a high-quality product, the best option would be a house-feeder. Why?

- Reason # 1 is the cover. So that the snow does not fill the feed, it is necessary to build a roof. The model we have chosen fits this criterion. The roof also protects feed and smaller birds from large birds.
- Reason number 2 - the sides. This element is necessary so that the wind does not spread the treat. And also so that large birds do not get inside the feeder.
So, the feeder should be protected from weather conditions, as well as from cats and large birds.
We build a bird house laminate feeder with our own hands
 Now you can begin to manufacture the feeders from improvised means. To begin with, it is worth preparing a workplace. If you plan to work in an apartment, it is better to transfer the process to the balcony. If this is not possible, try so that the sawdust does not fall on the carpet, sofa and other soft surfaces.
On a note! It is better to immediately prepare a vacuum cleaner, and several times in the process, remove dust and sawdust.
Feeder drawing
If you really take the matter seriously, you need to prepare a drawing of the future product with dimensions. But this stage can be simplified by simply drawing a sketch.
On a note! Do not skip the drawing step, it is better to have either an accurate display of the future product or a sketch.

In the sketch, specify the sizes of all elements. Then you will cut them out according to measurements, and avoid inaccuracies and inconsistencies in the future product.
Preparatory stage
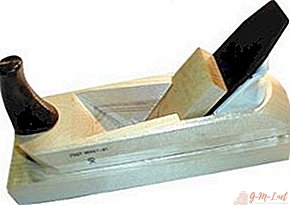
At this stage, you need to prepare everything that is needed for future work. Prepare the following tools:
 nails or screws;
- hammer or screwdriver (depending on the selected fastening elements);
- jigsaw or saw;
- sanding machine or sandpaper;
- masking tape;
- varnish for wood.
 nails or screws;
Also prepare laminate boards and ordinary wooden boards, lining is possible.
Important! The sides should be made of thick natural wood boards for a comfortable fit.
Tools and materials are ready, now you can proceed to the direct creation of the feeder.
We prepare the components
In accordance with the dimensions indicated in the drawing, cut out the necessary elements. As a result, you should be able to:
 rectangular bottom.
- two low sidewalls along the bottom (Important! They should be smaller than the width of the other side for convenient connection.).
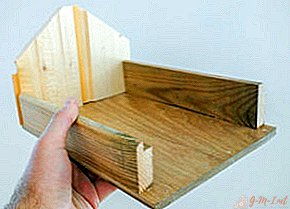
- two high sides with a triangular top along the width of the bottom.
- two cuts of laminate for the roof.
 rectangular bottom.
Sand all received parts, removing nicks, roughnesses and roughness. If possible, treat the tree with a special water-repellent.
Final stage
Now we proceed to the assembly of parts.
 Use nails or self-tapping screws to attach low sidewalls to the bottom.
- In the same way, fix the high sidewalls, and also fix them together.
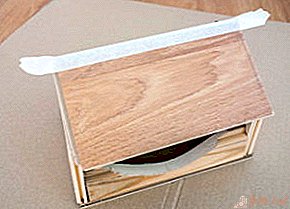
- Attach the “roof” from the laminate to the side wall with a small self-tapping screw.
- Attach the second sash of the "roof".
- Fasten the parts of the "roof" together with masking tape.
 Use nails or self-tapping screws to attach low sidewalls to the bottom.
Now you can cover the feeder with varnish. If desired, it can be painted or painted.
Leave Your Comment